Fire Methods 101: A Guide to Building Fire
Fire Methods 101: A Guide to Building Fire
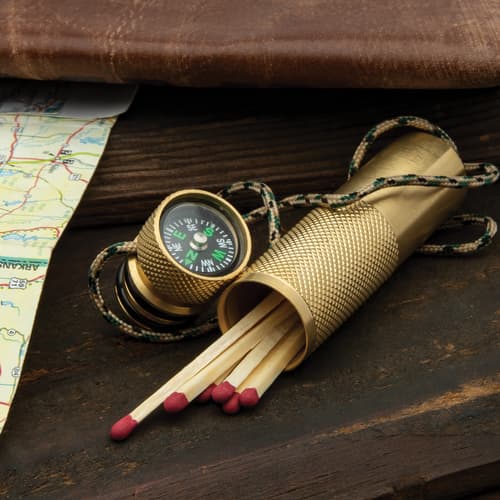
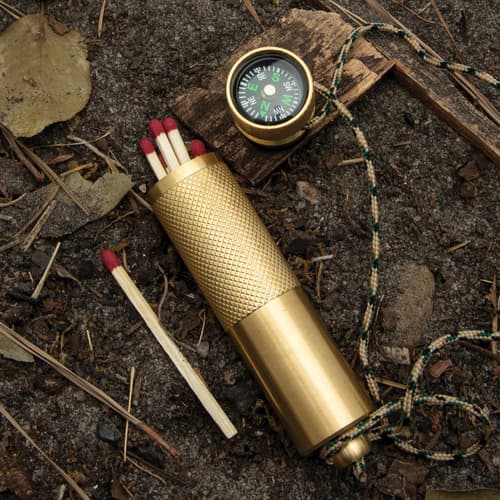
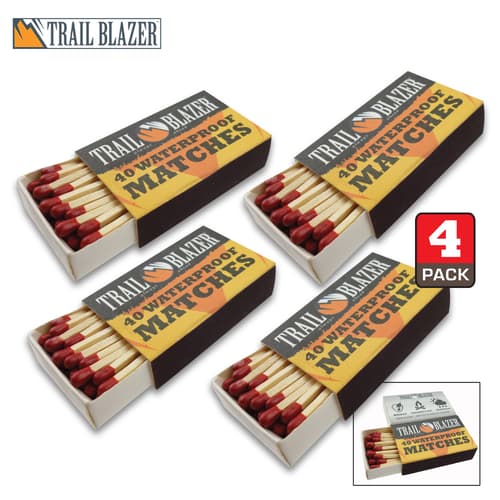
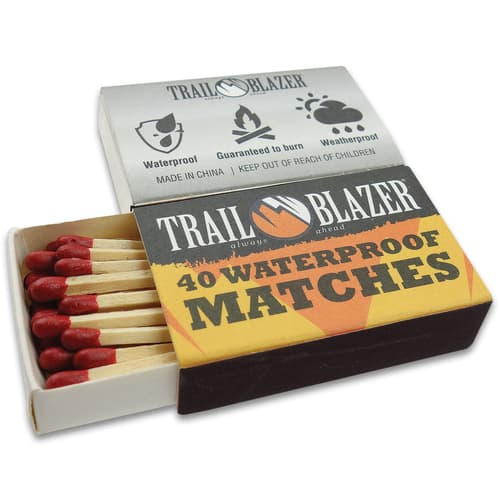
All things being equal, knowing how to build and maintain a fire is probably the single most important outdoor skill you can have. Orienteering, navigation, ax-craft, hunting, fishing and building structures are all important, but at the end of the day, if you aren’t proficient in firecraft, you won’t be able to feed yourself or keep warm. This guide will cover some basics along with 4 common methods of building a fire. Take notes and get your waterproof matches in order!
The Fire Triangle: What All Fire Methods Require
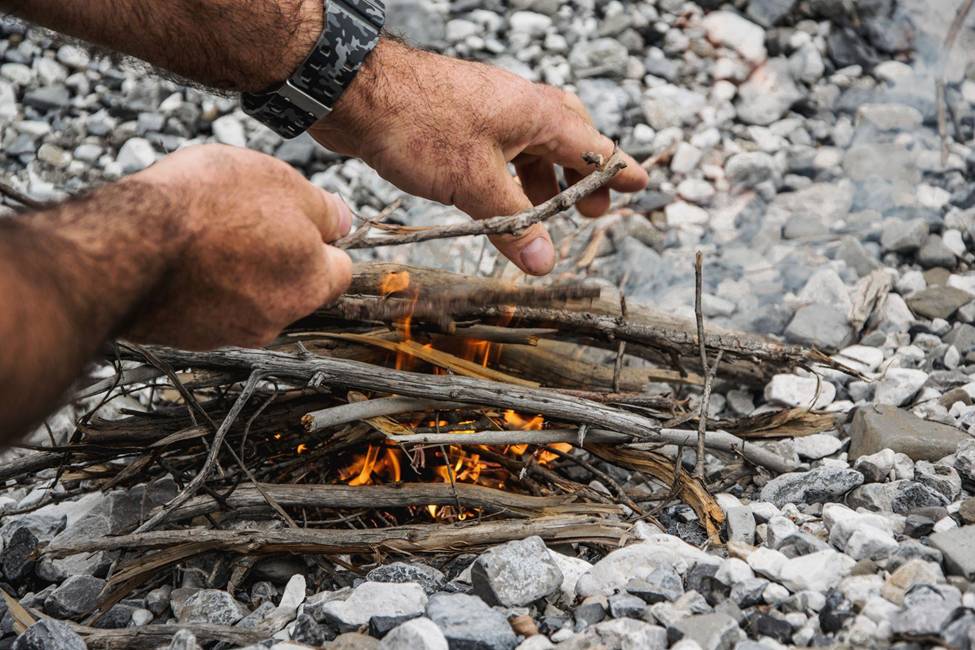
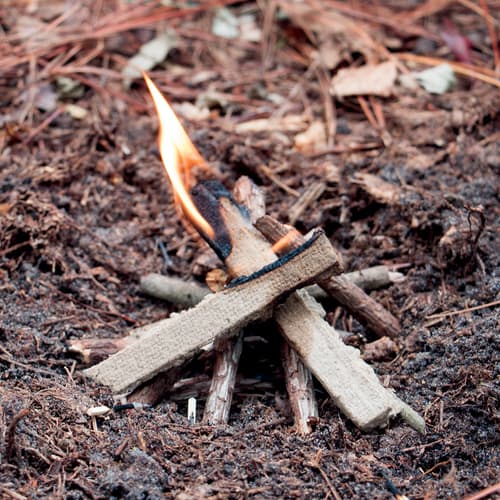
Oxygen, heat and fuel are three components that together are commonly referred to as “the fire triangle.” Without any one of these, a fire will not burn. Oxygen comes from air; all fires need adequate airflow. Fuel could be many things, but when you’re in the woods, wood is going to be your fuel. Fire also needs heat; the good news is, once you light a fire, the heat it produces is typically enough to sustain the reaction, as long as you have fuel and oxygen. Fuel can be further broken down into tinder, kindling, and larger fuel (or just fuel).
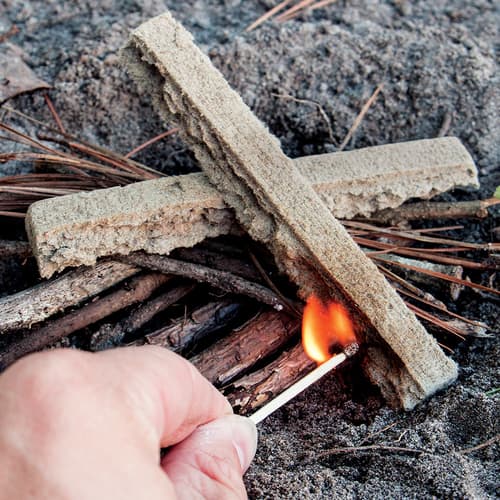
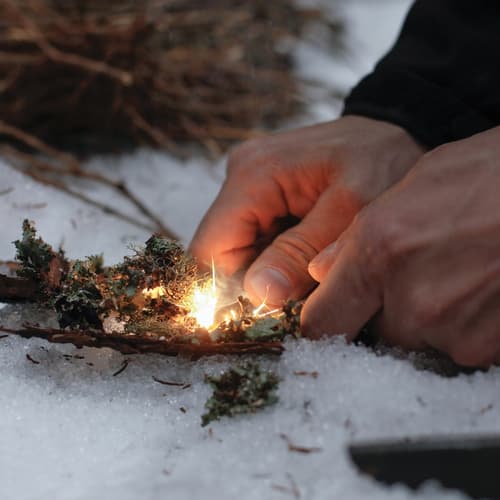
Tinder is the finest fuel and can usually be lit with just a small spark. Cotton puffs, thistledown, lint, dry grass and pine needles are all common sources of tinder. You will need at least one fistful of tinder, if not two, to build a fire under normal conditions. Kindling is slightly thicker than tinder. Thin twigs, less than an inch in diameter, are usually used for kindling. You will need at least as much kindling as you can fit both hands around in order to get a healthy fire going. For fuel, try to keep the logs and split wood about as thick as your wrist. Thinner logs burn better and more consistently with less smoke, unless the fire is very hot or the wood is very dry, which is rare in much of the country. There’s no upper limit on how much fuel you will need.
Common Fire Methods
Now let’s talk about four common methods that are commonly employed to build fires.
The Teepee Method
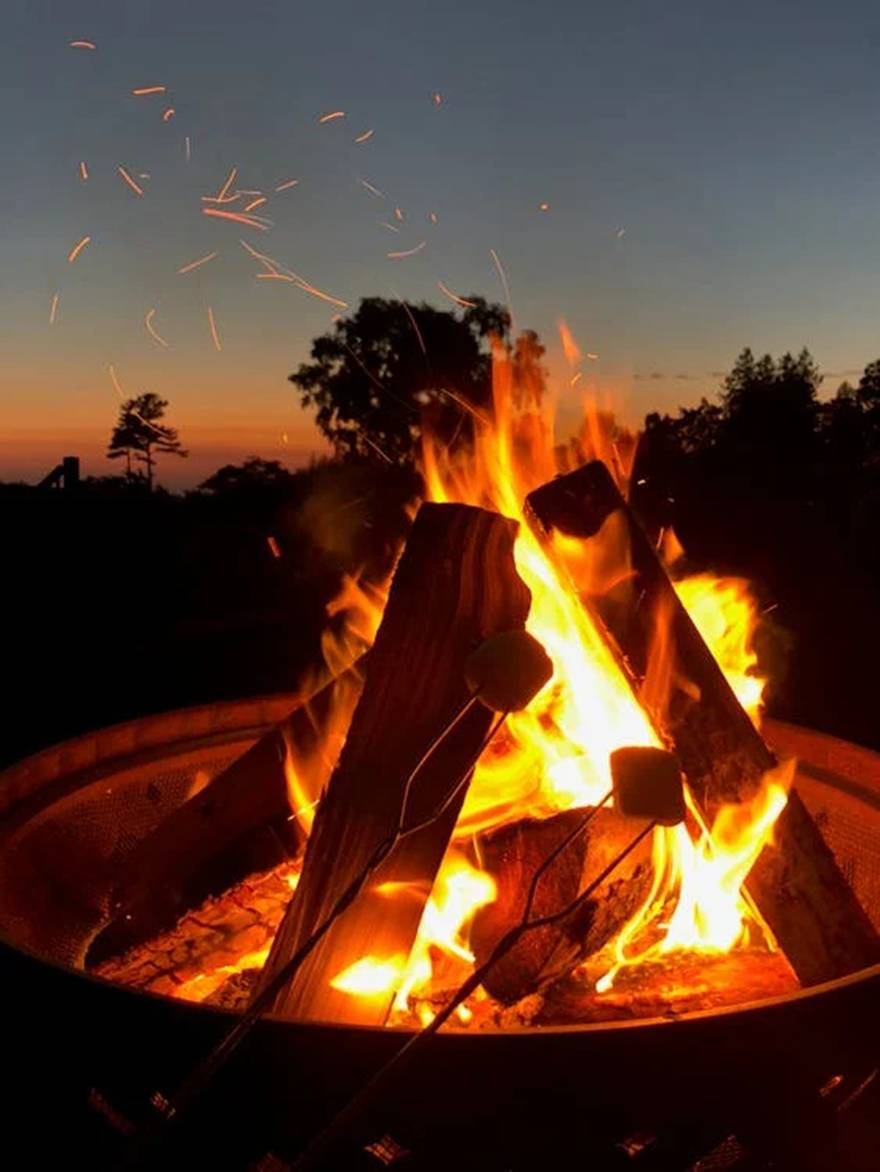
The teepee method is probably the most common method of fire making taught to scouts and blossoming outdoorsmen. To build a teepee fire, ball up your tinder, then stack your kindling around it as though you are making a teepee (hence the name). Lean the tips of the tops of the kindling against each other for support. Then, arrange your fuel around the outside and over the kindling, as you just did with the kindling. Leave one side open, preferably sheltered from wind by the back of the teepee, strike your tinder bundle, and watch the flames grow.
The Log Cabin Fire
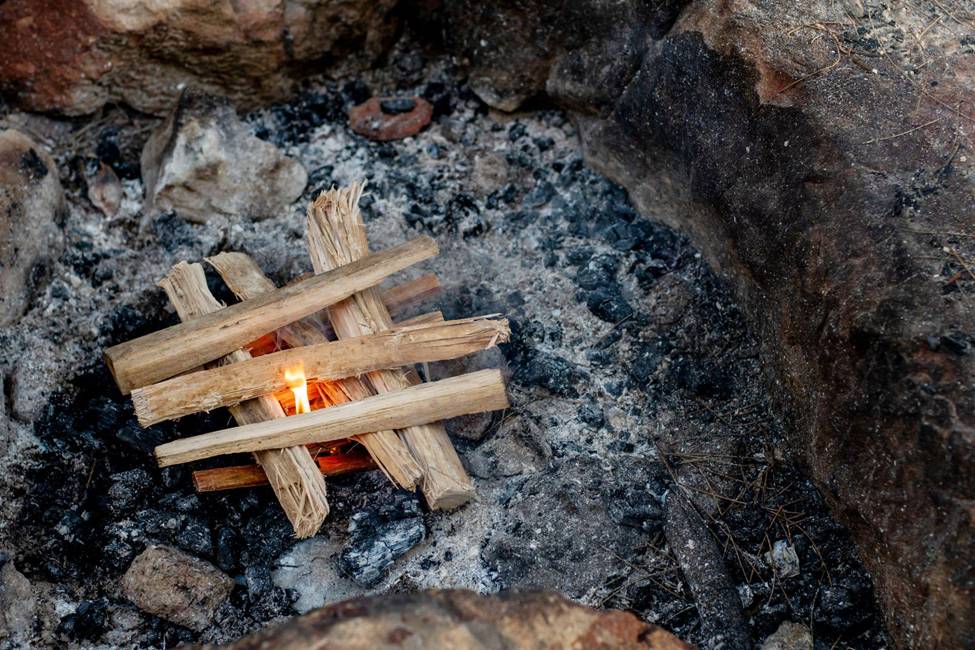
To build a log cabin, lay down a few pieces of fuel wood, to make a “floor” of wood. Then place your bundle of tinder in the middle. Arrange your kindling in layers of alternating two by two stacks of parallel sticks, with two perpendicular sticks on top of them. Build this up about 8 inches, then arrange your fuel wood around the outside of the smaller structure, but following the same pattern. Strike your bundle of tinder and cover the top of the “cabin” with more fuel wood, to trap the heat. Shrink the “walls” of the cabin in (without toppling the structure) in order to get closer to the heat, then feed with fuel as needed.
The Star Fire
A star fire is an unconventional method of building a fire, which requires you to use one of the first two methods mentioned above to get the fire going. Once you have a bed of coals, select some longer pieces of fuel wood and angle them so that they are arranged in a “star” pattern with one end pointing in towards the bed of coals. To feed the fire, push the ends of the logs further in towards the fire; to slow the burn rate or put out the fire, pull the logs away from each other.
The Dakota Fire Pit
The Dakota fire pit is not so much a method of building a fire as it is a method of controlling a fire. It’s excellent in the rain, as well as in wind and other adverse conditions, which makes it popular in inclement weather. To build a Dakota fire pit, you will need to dig one hole straight down about a foot and a half (if not a little deeper), and make it a foot or so wide. Then, dig another shaft down to meet this pit from the side at about a 45° angle, till it intersects the main shaft. This hole only needs to be 6” or so in diameter, although you can make it bigger if you need. Light your fire in the main shaft that you dug first, then you can either cover or open the second hole to meter the flow of oxygen to the fire. When done properly, this setup is windproof, sheltered from the rain, and produces little smoke. There are two other great things about a Dakota fire pit. One is that they are easy to cook over; the other is that they are easy to put out and cover up, which makes them great for “leave no trace” camping, as well as for stealth. For what it’s worth, they’re also safer, since there is less of a risk of sparks being blown out of the pit and igniting nearby fuel sources.
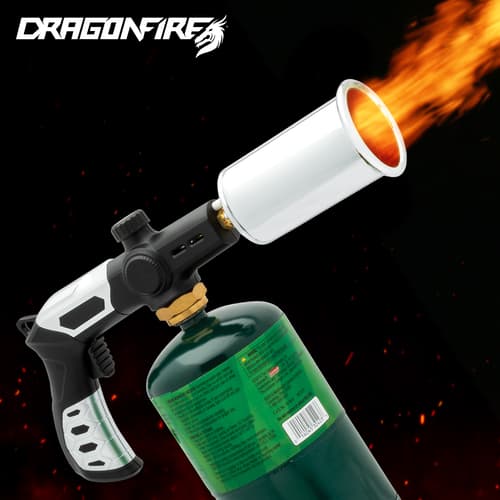
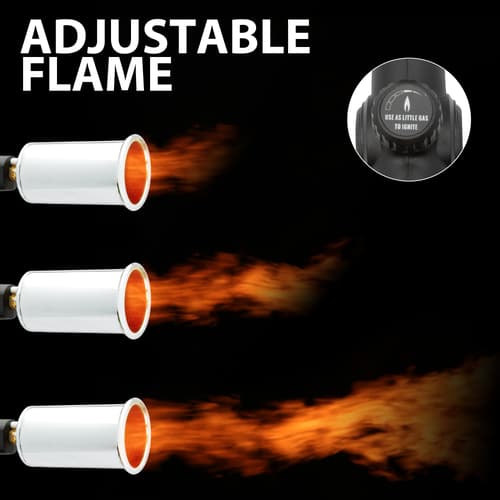
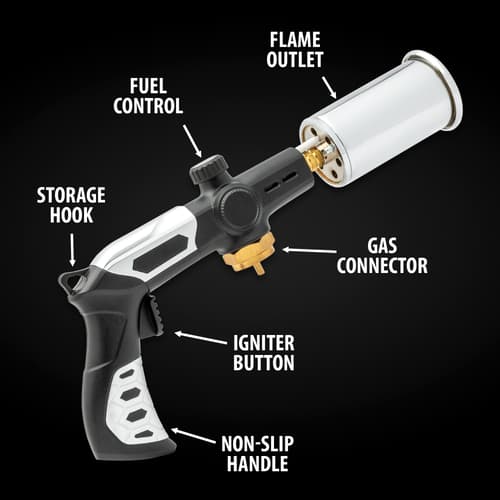
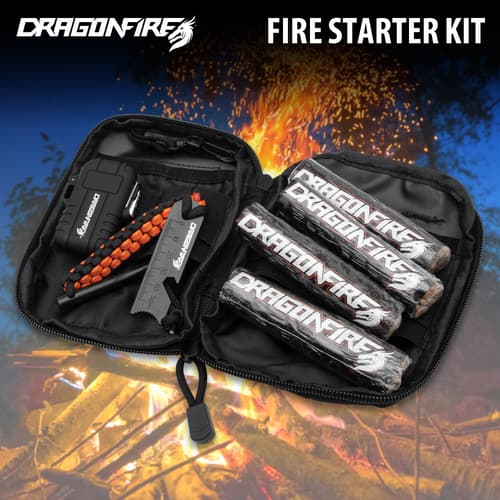
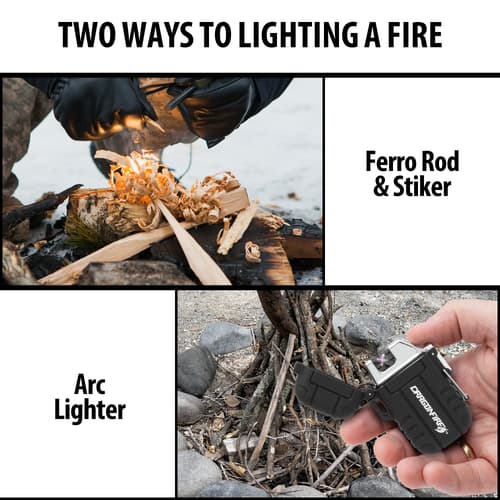
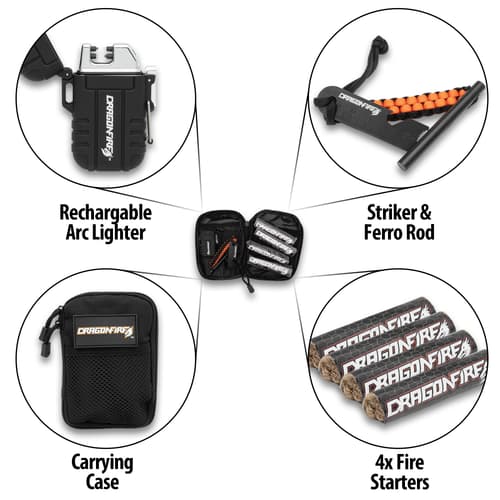
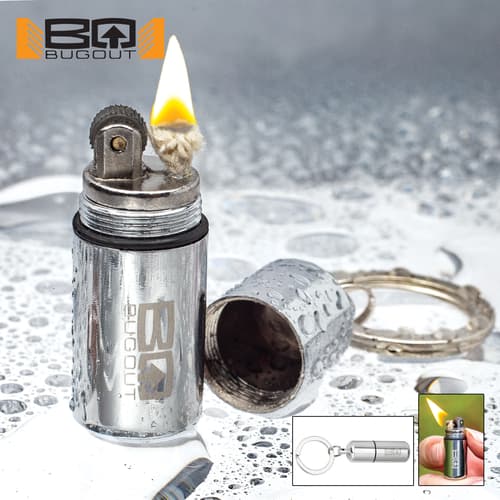
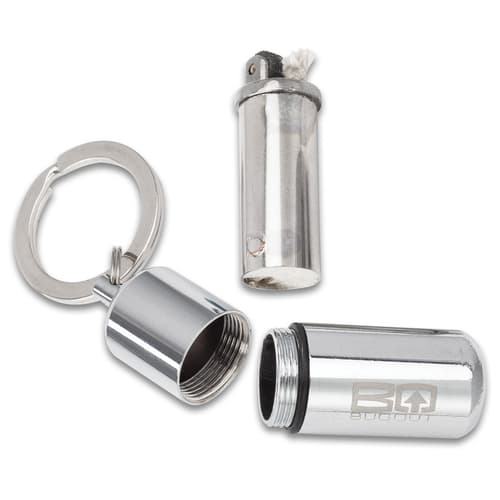
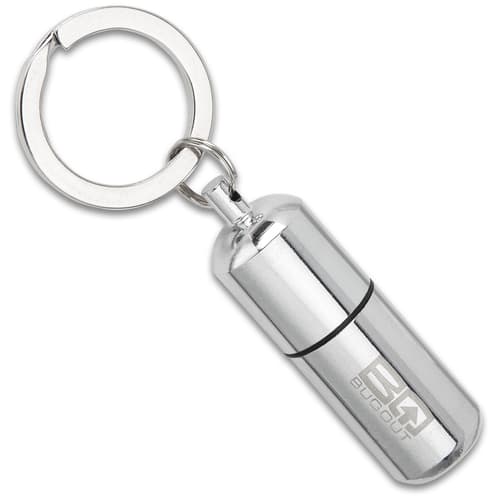
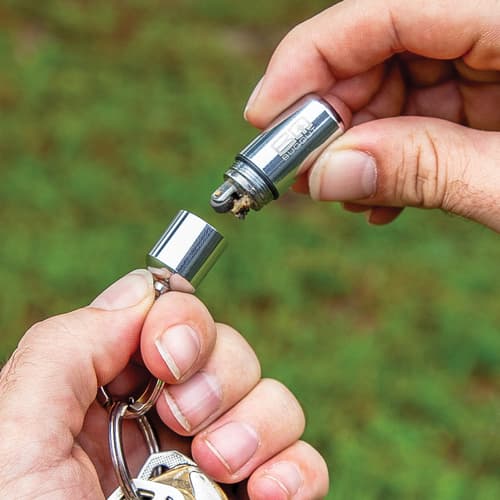
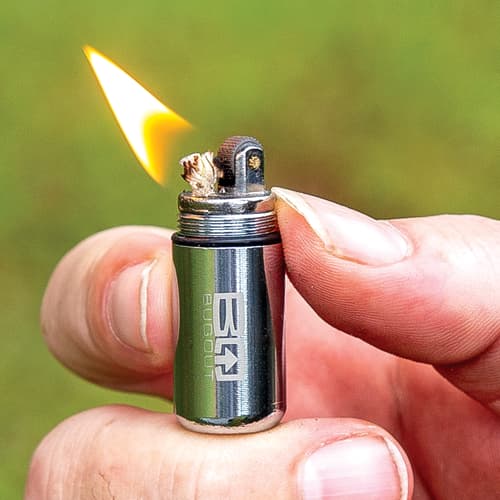
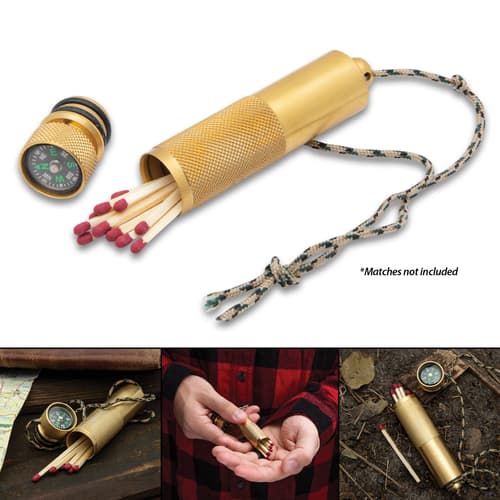
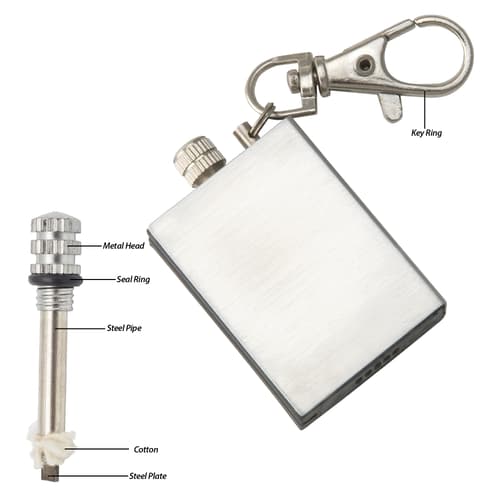
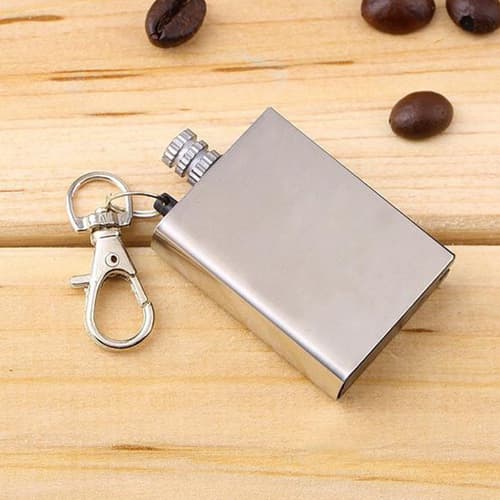
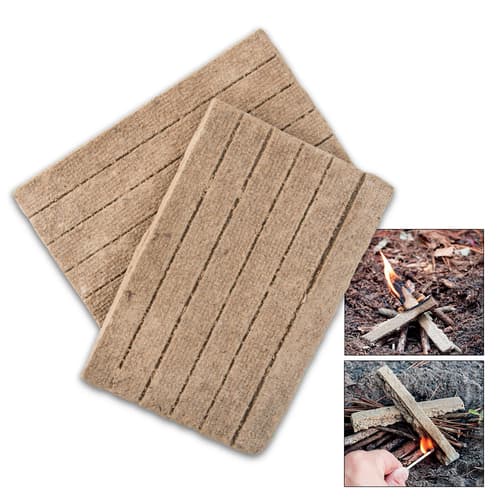
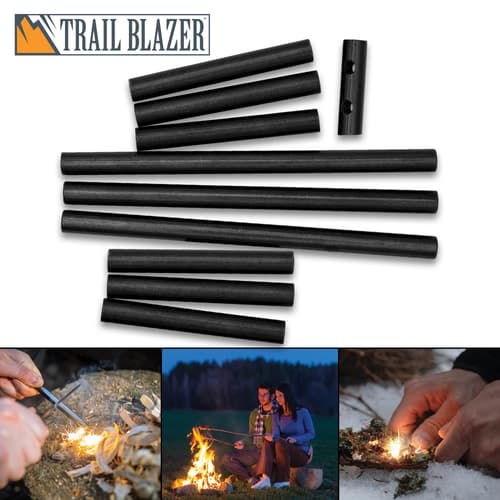
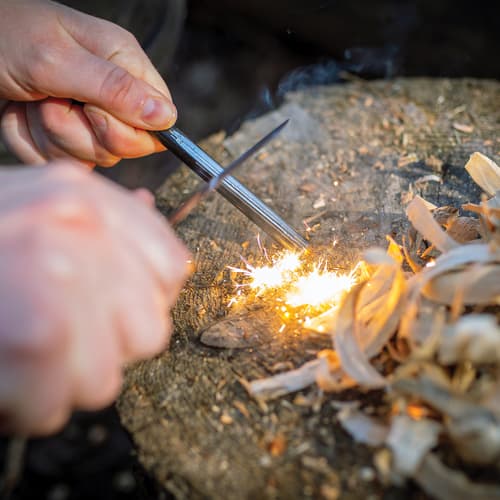
Gear Up Here with Waterproof Matches, Windproof Lighters and More
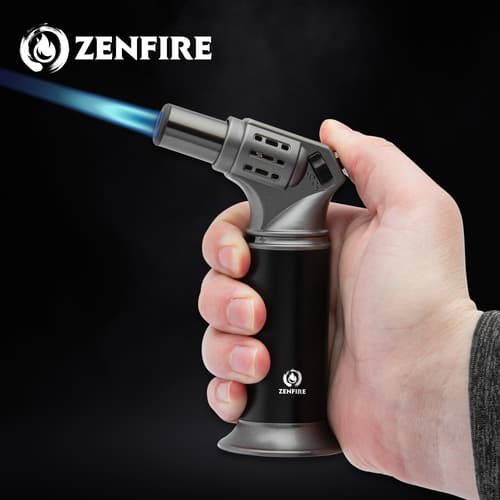
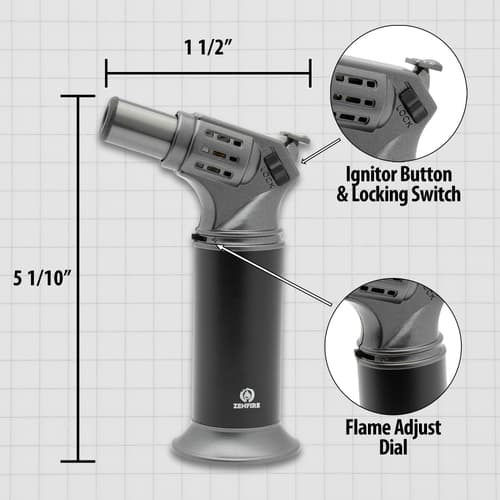
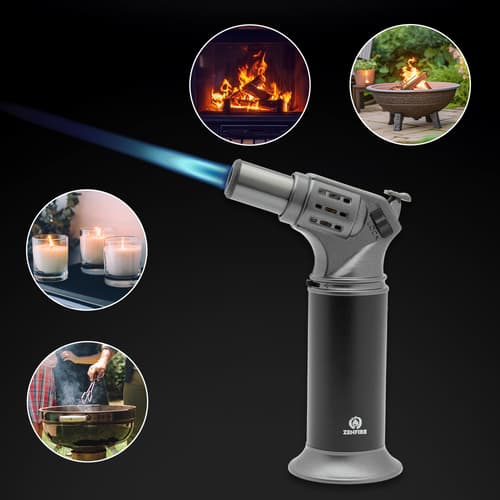
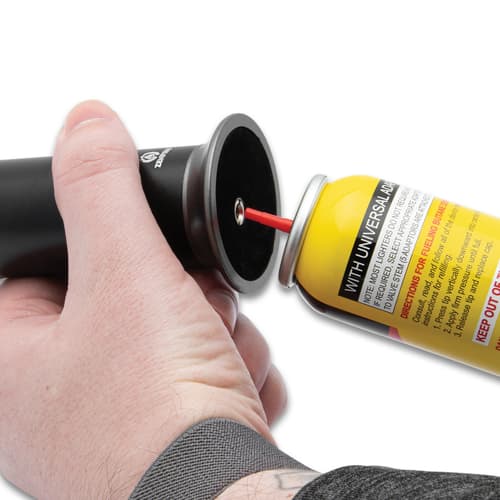
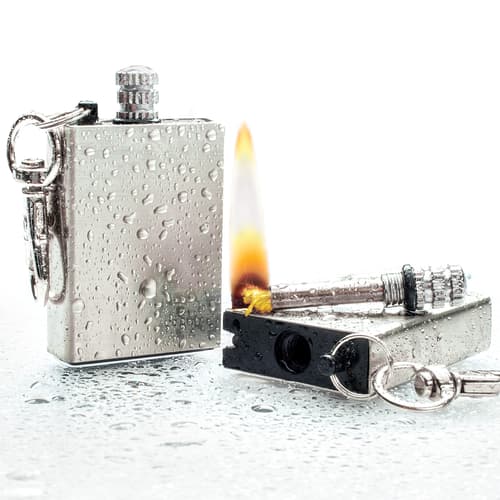
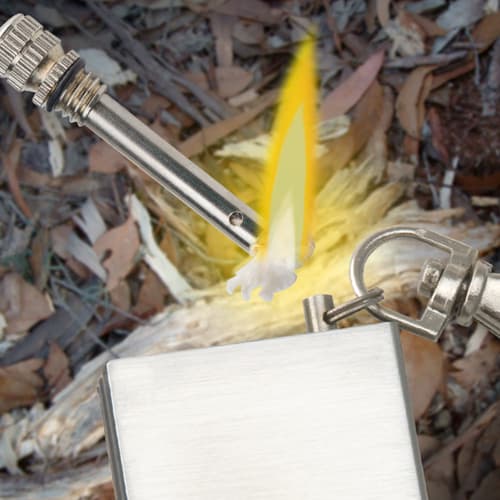
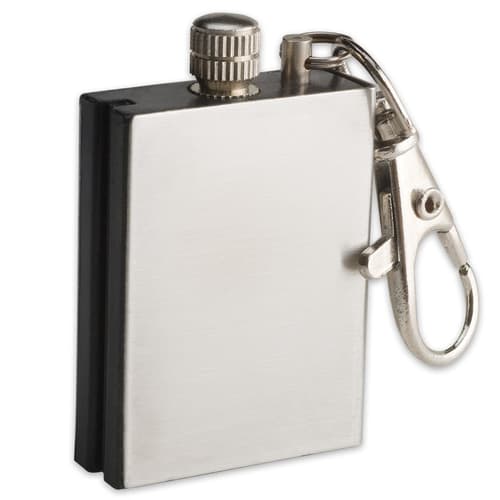
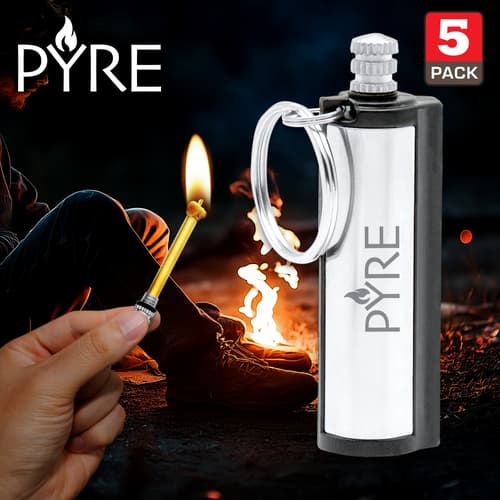
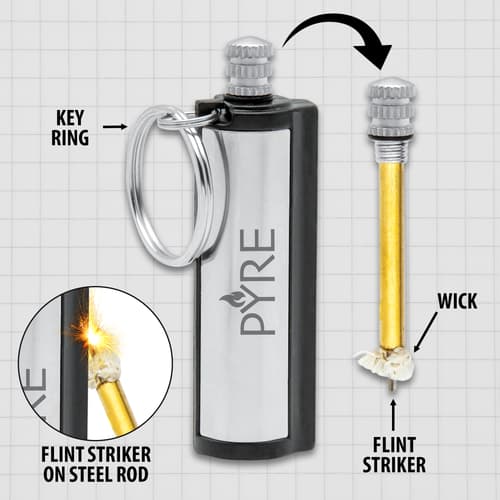
Before you can experiment with these fire starting methods, you’ll need to make sure you’re well prepared with waterproof matches, ferro rods, windproof lighters, and other methods of striking a spark and lighting a fire. Take a look through our collection of fire startersto make sure you’re prepared when you’re in the field, and if you have any questions about any of the techniques mentioned here, feel free to get in touch with us.