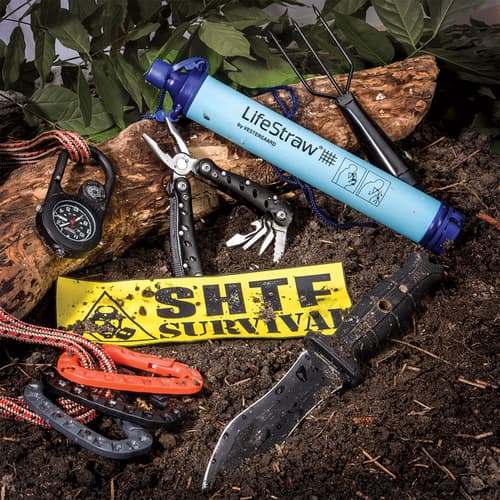
Primitive Skills You Should Know
Primitive Skills You Should Know
By Adelia Ladson
Making Fire
One of the most important primitive skills you should know is how to make fire because you could be in a situation where you don’t have the conventional means like a lighter or matches. Starting and building a fire has three components: tinder, material that will easily ignite; kindling, small pieces of twigs, leaves or dry grass; and wood, dry pieces that are gradually increased in size to fuel the fire.
The first component and the base of a fire is the tinder, which catches the spark or flame and ignites into a small fire that can be gradually fed with larger fuel. Some examples of good tinder materials include cat tail fluff, dry grass or pine needles and dandelion clocks. If an empty bird’s nest can be found, this is an ideal “tinder nest”. The tinder needs to be formed into a nest-like form or bundle so that it can effectively catch the spark or flame.
A flame can be generated by focusing the sun’s rays intensely on the tinder bundle. Use a piece of glass or an eyeglass lens to catch the sun’s rays and create a bright spot on the tinder. Depending on how bright the sun is, it will heat it to the point that it catches fire. The tighter and more focused the beam of light, the quicker the paper or tinder will catch. If a flashlight is available, take out the reflector and use it to reflect the sun’s rays onto the tinder, which is secured in the hole in the bottom of the reflector. If all that is available is a water bottle, the sun can be focused through it, as well. Fill the bottle with water and use the same method as the lens or piece of glass. The key is to practice two or more of these methods of starting a fire before it’s an actual necessity like a life or death survival situation.
Once the tinder is going, feed the fire with kindling, which are things that will easily catch and enlarge the fire. Sticks, leaves and twigs can be used, and you can break smaller limbs from trees as kindling. Then, gradually, add larger pieces of dry wood to fuel the fire.
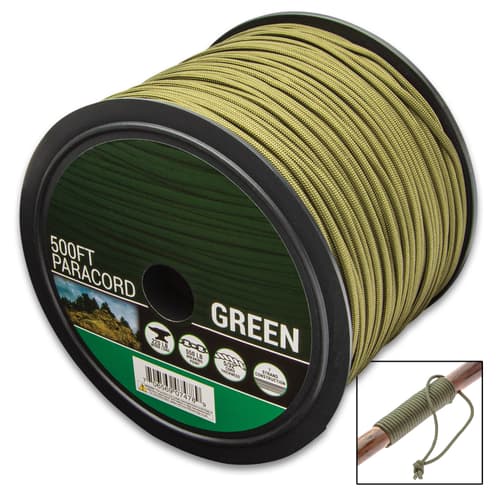
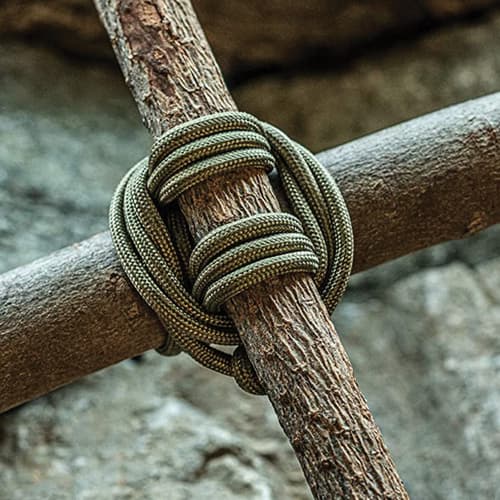
Making Cordage
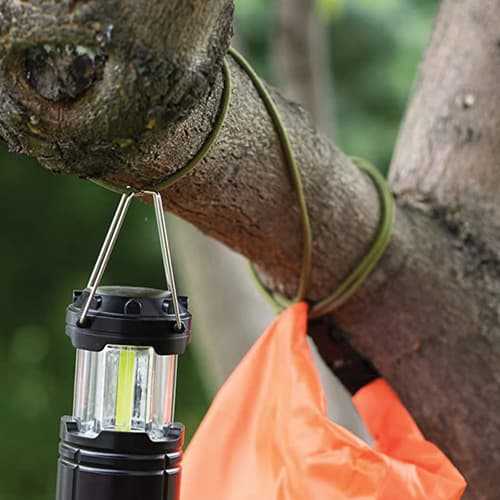
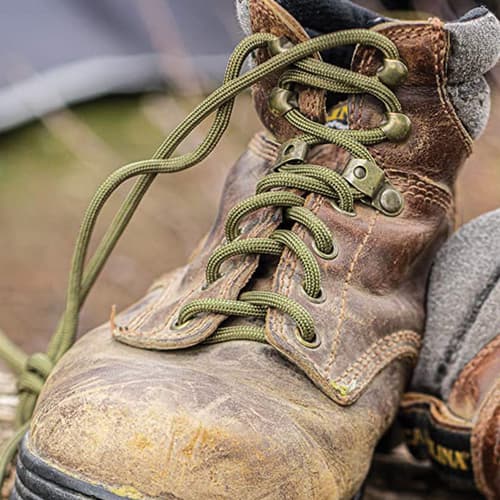
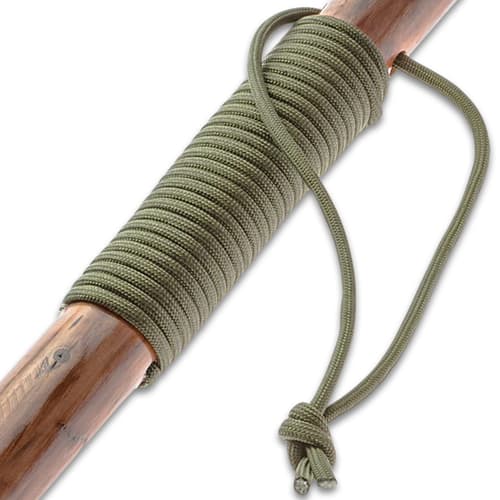
This is another primitive skill that may come in handy someday and it’s just really cool to learn, especially, if you’re looking for an alternative and practical hobby. There are a variety of plants which you can make cordage out of including Dogbane, Milkweed, Hemp (obviously), Cattail leaves, Yucca leaves, Agave leaves, Willow bark, Maple bark and Cedar bark. There’s more out there. Just look what you have available to you and search the internet to see if it’s suitable. Just to pick one, we’ll talk about using dogbane (also called Wild Cotton), which can be found throughout most of North America. NOTE: It is extremely poisonous if ingested, like stop your heart poisonous.
Use dogbane stalks that are brown, not green or gray and look for about a 4-foot stalk. Then, break it off at the bottom and break-off and discard the top to get about a three-foot stalk. Flatten the stalk to break the core inside and separate it into two equal halves. Then, starting at the thick ends, snap off about an inch-long section. You can now start removing the core wood inside by pulling up one end and then the other to avoid peeling. Do this for both halves and you end up with two ribbons of fiber with a dark brown outer bark. To get into shape, grind each ribbon between your thumb and forefinger, which will cause the fibers to separate a little. Now, you should have two strands that get thinner along their lengths. You want a consistent width so reverse on strand and lay it against the other so that the width becomes more or less consistent, then rub the strands together so that they stay connected to each other. You now have something to work with.
About a quarter of the way down your strand of fiber, twist a segment in opposite directions until it makes a tight kink, and this will be one end of your rope. Hold this loop tightly with your left thumb and forefinger so that you have two strands (one will be shorter). With your right thumb and forefinger twist the strand that is further away from you clockwise so that it’s tight but not kinking up, then, use your right middle finger to clamp the strand that is closer to you to your right forefinger. Turn your wrist 180 degrees back towards you so that you are swapping the positions of the strands. Push up a little on the junction between the two strands with your right forefinger to keep the wrap tight. Just keep doing this until you run out of length. Now, this is just the basics of the technique. To make your rope longer, you “splice” in more fiber to the shorter strand by just adding another prepared fiber strand to it and continue the twisting process.
Trapping
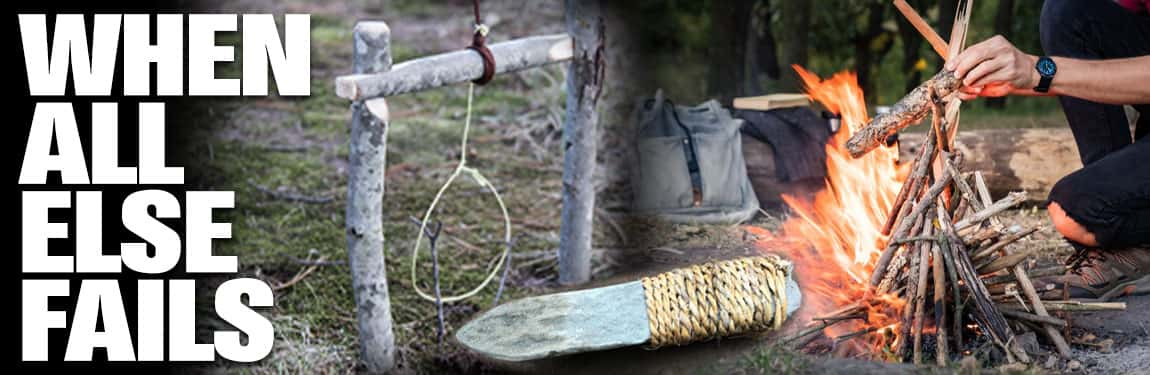
Once you have your cordage, one of the best possible uses for it is making a ground snare to trap small game like rabbits and squirrels. Snares are probably the simplest trap to make, and the basic concept is that the animal is caught in a noose. Take a stick (this is the stake to hold up your snare) and sharpen one end so that it can be put into the ground. At the other end, put a notch at the top all the way around the stick so that your cord will have something to catch in. Wrap your cord around the top of your stick where the notch is and tie if off nice and tight. Now, make your noose about a hand-length away from your stick. Use a slip know at the end of your wire so that your loop slides freely. Then, get your stake in the ground really good and take some small sticks with natural forks and poke them in the ground, using them to keep the noose open. The idea is that your intended prey will run head-first into the noose, and it will slip closed around its neck.
A Bottle Hole Trap can be set if you have something to dig a hole with. It’s used primarily for small prey like mice and voles, which are not the most appealing dinner to me but … Dig your hole about a foot to a foot-and-a-half deep and make sure the bottom is wider than the top like a bottle. Cover the hole with a piece of bark propped up by small rocks. It needs to be high enough off the ground that the rodent will find it appealing to try and hide under. When they fall into the hole, they won’t be able to climb out because of the bottle-like shape.
The Paiute Deadfall Trap (named for the Paiute Indians) uses bait to bring in your quarry and then … SQUISH! It’s all over. The basic concept is you use a “hammer”, which can be a large rock or piece of wood, that’s balanced in place by a trigger system until it’s triggered by your prey. First, you need a Y-shaped stick that is about 8” long and a straight stick about 9” long. Both of these need to be thick enough to bear the weight of your hammer. Then, you need a stick a little bit smaller than a pencil and about 2” long to use as the “toggle.” You also need about 8 inches of string (paracord comes in handy again). Finally, a skinny bait stick that’s about a foot long and the bait you’ll be using are the last two items you need. (Bait will depend on what you’ve got available to you, but I would try almost anything in a survival situation.) To set the deadfall trap, take the straight stick and tie one end of your string to it and the other end of the string to your toggle. Stand the Y-shaped stick up and rest the end of your straight stick (the end not tied with string) in the fork with about an inch sticking out. This is the one inch that your rock or piece of heavy wood will be resting on. Put one hand on the straight stick where the string is tied and hold it in place while you place your hammer on the one inch. You should be balancing the hammer in place just by holding the end of the stick down. Now, wrap the toggle (two-inch stick) halfway around the Y-shaped stick close to the ground. (Not too close, though.) If you’re with me so far, you should be able to now balance the hammer by just holding the toggle in place wrapped halfway around. The end of the straight stick should off the ground, essentially, held in place by the tension of the string and the toggle. Take your baited stick and carefully place the bait end up under your hammer and against it while the other end needs to be placed against the toggle, which should be perpendicular to the Y-shaped stick it is half-wrapped around. If you’re like me and less coordination than you think you do, it may take a couple of tries to set. The best thing is if you have a friend along with you to help.
Stone Knife
Making a knife out of rock was probably one of the first things primitive man perfected because having a sharp instrument is a necessity for survival. This is something that actually takes a little more finesse as you try to break the rock just right to form the most promising shard that can be shaped into a sufficient knife. It’s not easy and takes practice.
First off, you have to find a rock that is suitable like flint, obsidian, quartz, basalt or jasper – basically any rock that has silica in it. Then, you need a hammer stone, which should be a medium sized rock (non-silica based) that has a rounded surface and is free from cracks. A round granite river rock makes a good one. Take the hammer stone in one hand and the flint rock or whatever you’re going to “flake” in the other. Now, I have seen it done both ways. You can hold it in your hand or brace it on your thigh, but you need to make a strike that follows all the way through without stopping. Strike down on the edge of the knife rock with the hammer stone, and if you’re lucky, you will flake off a nice size piece of it. The bigger the knife stone, the larger the flake. NOTE: The edge of the flake that separated from the rock will be razor-sharp. To get a longer flake, you need to strike along a natural ridge in the rock and then you can strike the newly made ridge again to get another, better knife blade. The only drawback is that the edges of the blades are fragile so, you can cut meat but not wood. If you’re dealing with wood, it’s better as a scraper.
Hide Glue
Our ancestors made and used hide glue for a variety of things through the ages including mending pottery, binding feathers to arrows, binding thin pieces of wood together and adding it to their paints to protect their works from moisture. So, basically, to make it yourself, you need animal connective tissue which can be skin, bone and tendons. The easiest method that I’ve found is boiling down animal hides, but they have to be scraped completely clean. First, cut the hide into really small pieces, then, take an old pot (one you don’t care about) and put the small pieces in with water covering them completely. Bring them to a slow boil and then allow them to simmer for a couple of hours (uncovered) or so before taking a look at them. The hide pieces will swell up a little and look sort of translucent when they’re ready. If not, check on them later but don’t let the water simmer out or they’ll burn just like anything else. NOTE: It will not smell really nice so you might warn your family before you get started.
What you want, after the hides are “done” is the liquid from them because this is your glue in its early stages. Use an old metal strainer to strain out all the hide bits that you can and once again, use one you don’t really care about or buy one specifically for this purpose. Return the liquid to your pot and let it simmer until it starts to thicken up, then, remove it from the heat. When it’s cool enough to touch, test its stickiness with our fingers. If it isn’t sticky, put it back on the stove to simmer some more. What you’re doing is cooking off the excess water. Don’t scorch it because it will really smell bad then.
Once it’s reached a sticky consistency, use pantyhose or something else with a similar fiber structure to strain out the liquid completely of the fine particles. Use a wide, flat container like a tin foil pie plate to strain the liquid into. Let the glue cool completely until it’s congealed into a rubbery consistency. Use your fingers to break it into small pieces and spread them out to dry in a cool, moisture-free place. Repeat this every day, and you can use a knife to further chop them up, until the bits are completely dry. NOTE: If they are not completely dry, they will mold when you try to store them. Once they are in a dry, crystal-like form, you can store them in a water-proof container.
When you want to use the glue, just take out what you think you’ll need and rehydrate it to the sticky consistency you need. Add the water slowly and warm it on the stove slowly but don’t boil it. The less water, the thicker your glue will be. After you use it on whatever you are binding, let is dry for several days so that it will set completely in your project. Please, remember, that hide glue is water soluble, so choose what you use it on wisely.