Know Your Knots
Know Your Knots

By Adelia Ladson
Why Are Knots Important?
Knowing how to tie a few basic knots is an essential skill to add to your cache of knowledge. They are used for a million different tasks and you already know and use a couple of knots in your everyday life. By adding a few more, you can really take advantage of what a great tool they are for securing objects and tying things down. In a survival situation, when building a lean-to shelter or tent-like shelter with a poncho or tarp, you need to know some basic knots.Knot Categories
Knots can, basically, be divided into bends, hitches, loops, binding and stoppers. A bend knot is used to join two pieces of rope together securely. A hitch knot is used to secure a rope to a stationary object like a rail, tree or a fixed line. A loop knot can be used instead of a hitch to quickly secure a rope to an object and if the working end of the rope slides freely, it forms a noose. A binding knot is specifically used to tie off packages, the neck of sacks and, most importantly, bandages. A stopper knot is tied at the end of a rope to keep it from pulling out of a hole or slot in an object that the rope is secured to.Some Terminology You Need to Know
- Bight: A bight is a slack section of rope that forms a partial loop or u-shape.
- Loop: A loop is a bight with a crossing point.
- Crossing Point: When two parts of a rope overlap each other.
- Standing End: The standing end is the part of the rope that is not active in tying a knot.
- Working End: The working end or running end is the end of the rope used to tie a knot.
- Standing Part: The standing part is the rest of the rope between the working end and the standing end.
Basic Knots
Below you’ll find an example of each category of knot and how to tie it. These are common knots that can be used in your daily life.
Sheet Bend
This is a relatively simple and classic knot to tie and it’s great for joining two ropes that are different sizes and construction. Make a bight in one end of a rope and pass the working end of a second rope through it. Then, wrap the working end of the second rope around both the standing end and working end of the first rope and double it back across the front of the bight but underneath its own standing end. The working ends of both ropes should be on the same side of the knot. Pull tight.Timber Hitch
Use this hitch knot to secure a line to a tree and keep it under tension when making a tarp shelter or to hoist a log. Make one wrap around the stationary object and then wrap the working end around the standing part of the rope and then wrap the working end around itself several times.Simple Noose Knot
This knot forms a simple sliding loop that tightens around whatever it is placed around. Basically, this is an overhand knot (the basic knot everyone knows) tied around the standing part of the rope.Square Knot
Use this knot for securing bandages and packages but not for joining two ropes together securely that will have strain on them. Using two ends of the same piece of twine or cord tie, cross the left working end over the right wrap it around. Then, cross the right working end over the left and bring it through the loop that’s made. Pull tight.Ashley’s Stopper Knot
Use this stopper knot when there is a large hole or slot that needs to be blocked. Start with tying a simple noose knot (see above), then put the working end of the rope up through the loop and pull tight.Supplies You Need
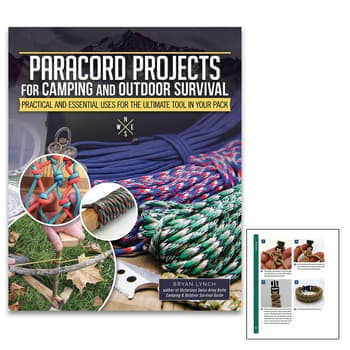
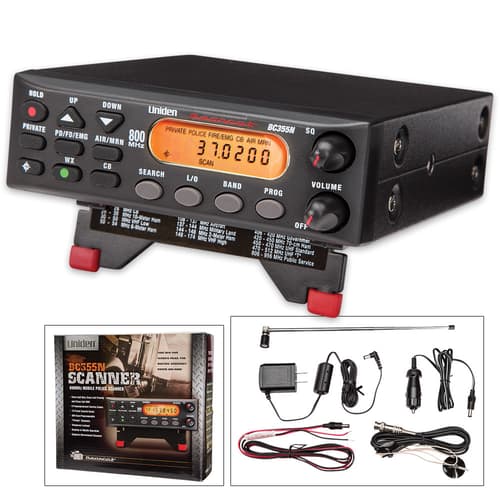
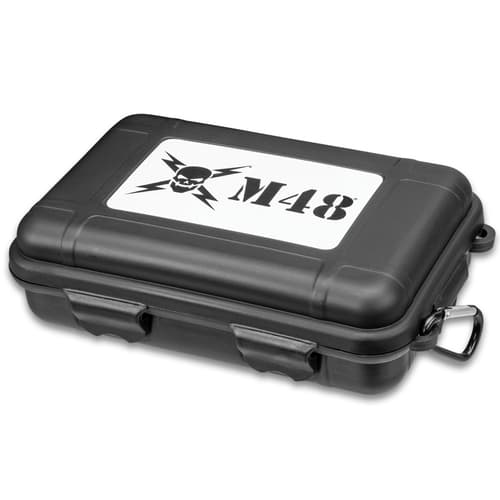
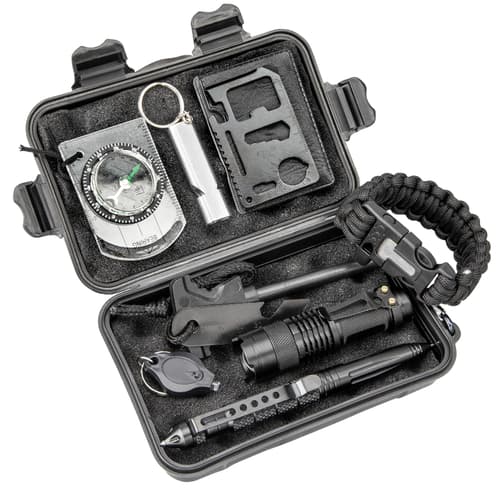
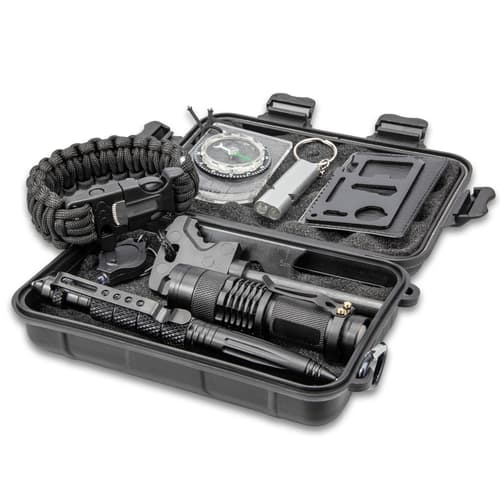
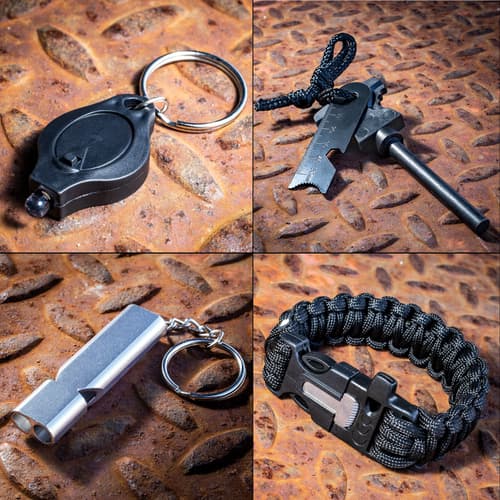
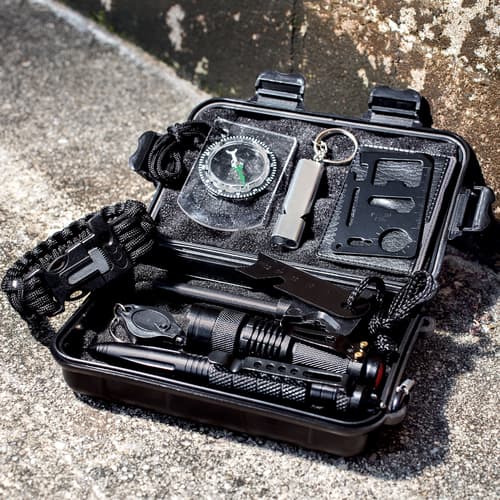
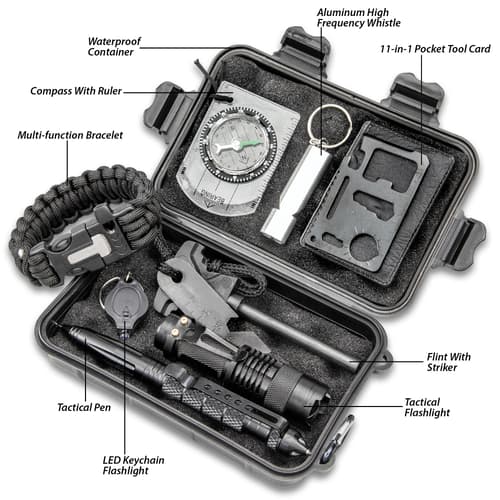
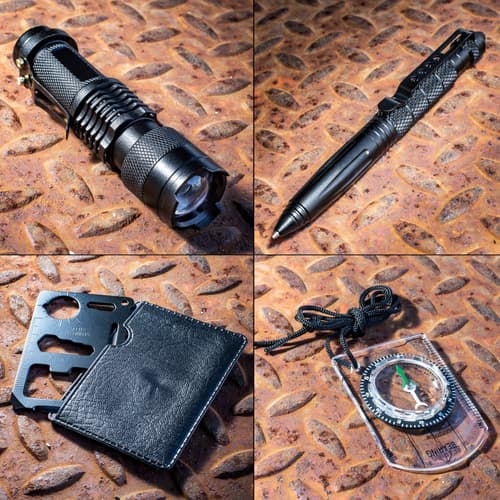
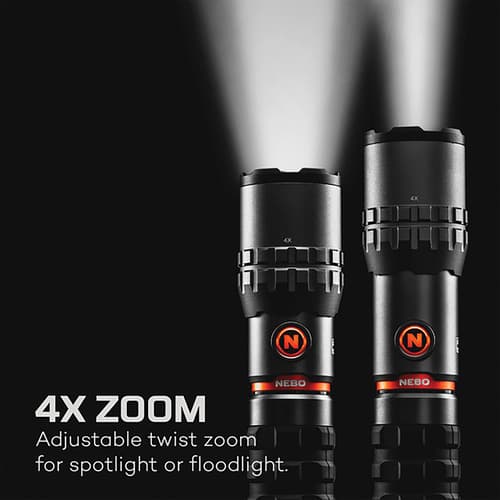
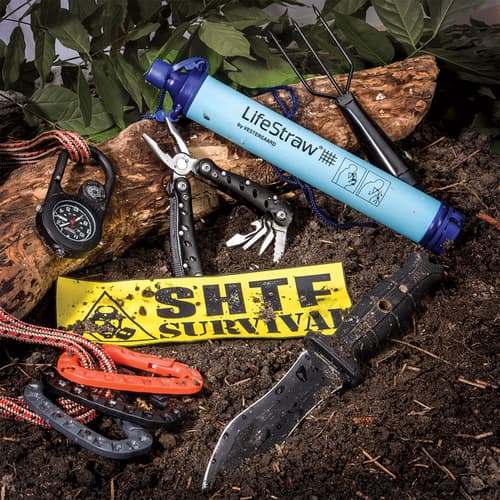
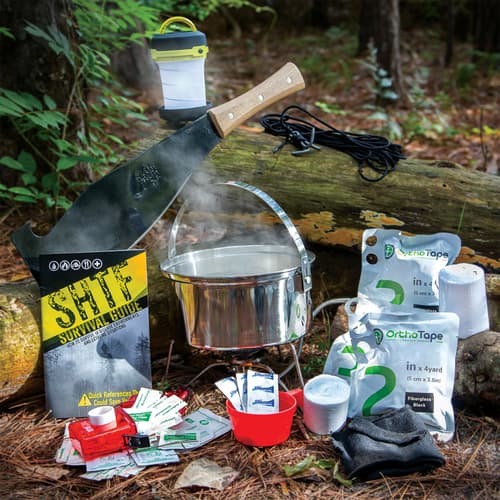
Here are some supplies you need to star learning and practicing your knot-tying skills. They are also tools that you need to get the job done. Add these products to your camping gear, bug-out bag, tool box, boat storage box and vehicle emergency kit.

